
I was searching the internet for projects at two days passed my due date to keep the “UGH when will my baby be here?!?” feelings at bay and I decided that I should make a car seat/carrier canopy. After scouring Pinterest I found a few tutorials that produced a product that I liked the look of but all of them required 2 yards of fabric PLUS two additional strips or fat quarters of fabric. One of my main objectives lately has been to use up my fabric stash and I had the perfect fabric for this project… with one problem. I only had a yard of each of the fabrics and they are both (I think) loooong out of print, so there was no going to the fabric store or quilt shop to find some more. Yes, of course, I could have just picked up some coordinating fabric, but I decided I would figure out how to use just what I had and create a tutorial for others in the process. So here we go… please feel free to contact me with any questions about this, it is my first tutorial and I have baby brain, so while I’ll try to cover everything, I can’t make any promises.

What you need:
2 yards of Fabric
5 inches of sew-on velcro
Coordinating thread (you can use white, but since you are top stitching, some color will add a little pop)
Press your fabrics well (pressing is very important in this project as you really want everything to lay flat and line up). Then, cut off your selvedges. I actually left about an eighth of an inch on each one since I knew that I would be using quarter inch seams (it gave me a tiny bit extra amount of length). Then cut off a 2.5″ strip of each fabric (this will be for your straps) and set them aside for later.


Line up your two fabrics right sides together and make sure your edges line up, trim up where needed to make things even. To round out the corners use a ceramic plate (don’t use the nicest one in the house) and you can use your rotary cutter right along the edge. If you don’t have a rotary cutter or do not want to use your cutter against the edge of your plate you can use the plate as you would a template and trace where you will make your cuts. Round out all four corners and recheck your fabric alignment to make sure everything is matching up.

At this point you can pin your fabrics together to make sure they stay lined up, but I despise pinning, so I just repressed with a bit of steam and it seemed to hold my fabrics together enough for me to not need to pin, then its time to start sewing using a quarter inch seam. I used a pin to mark off where I should stop to make sure that I left a gap to pull the fabrics right side out. Once you make your way around take the fabric off the machine pull your fabric through. Push all of your corners and edges out well and press again. Press all of your edges out and fold your seam allowance (at the gap you left) under. Then it is time to top stitch. Start your top stitch just before your opening so that you can make sure it is sewn up with no issues.


After you top stitch the main pieces together that part of your project is done. Take your 2 (2.5″ x 1 yard) fabric strips and cut them each into (3) 2.5″x10.5″ inch pieces (discard the small leftover pieces). Set your strips up and sew them into tubes. Your straps won’t be the same, but they will coordinate with your two fabrics… and hey this is about getting the most out of those one yard cuts!

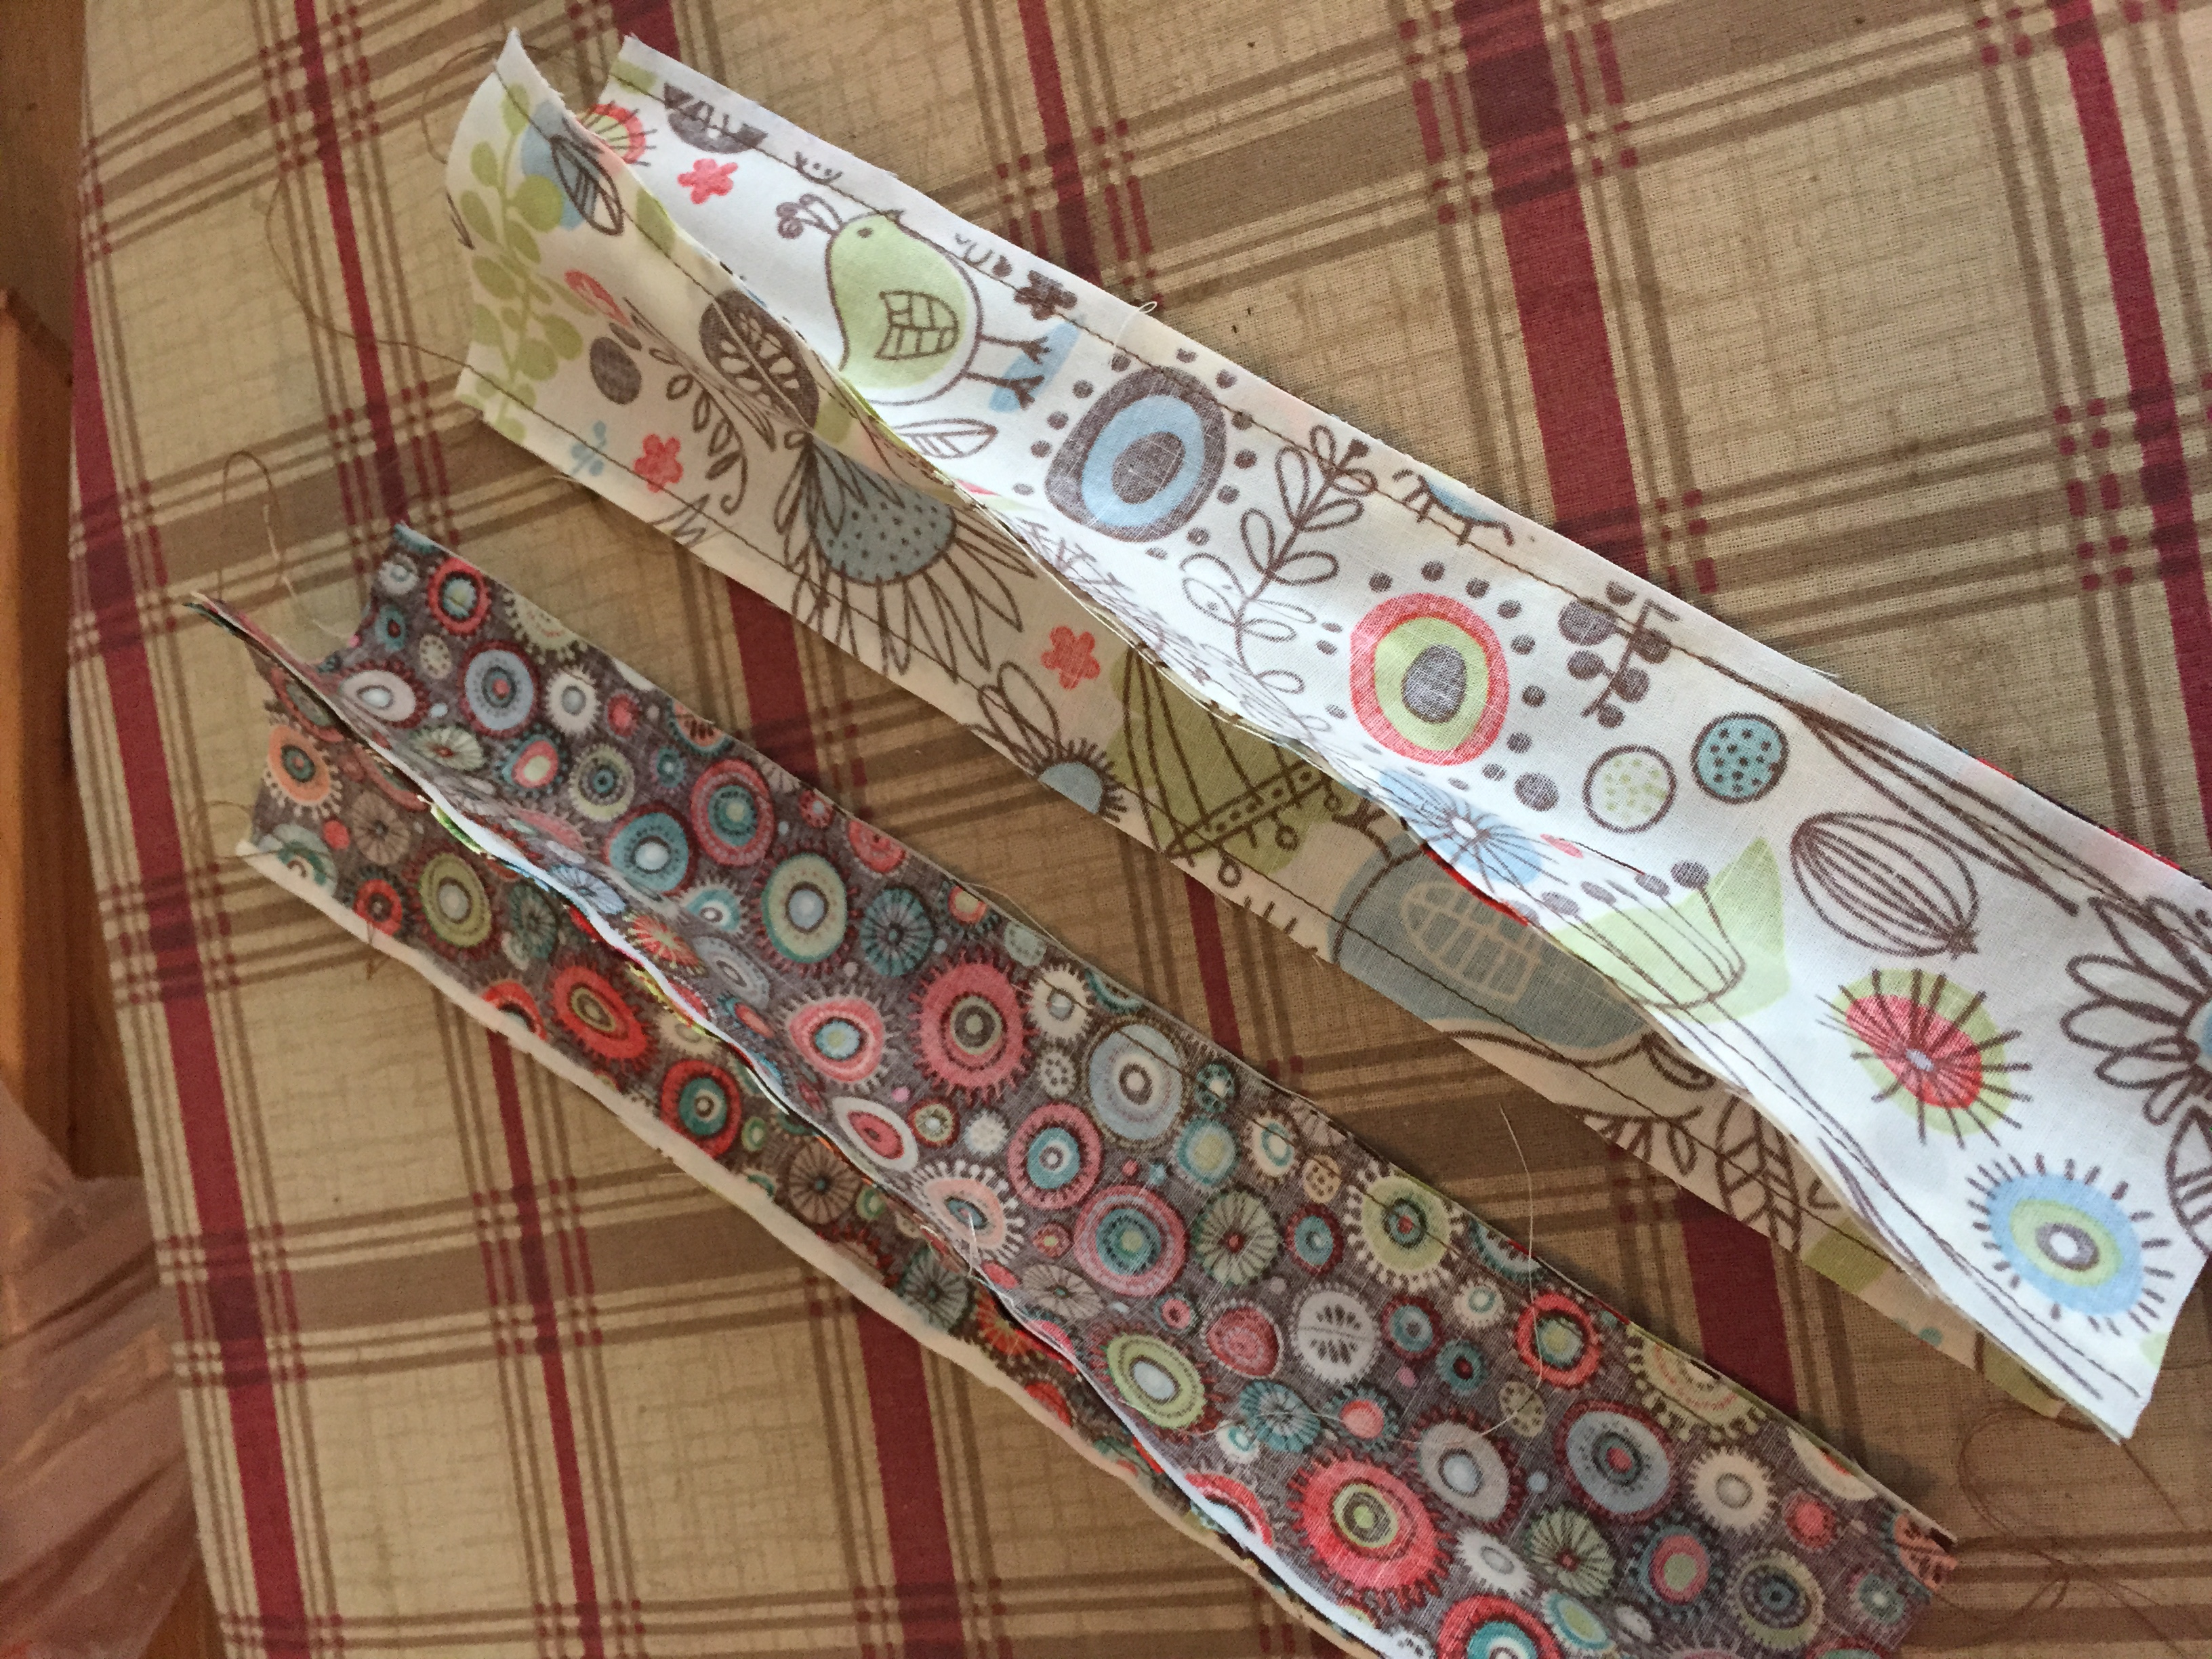
Once your have your tubes sewn together press all of your seams open. Once seams are open press your straps like below.


Sew one end of each tub shut completely and one end sew just half. Turn the two tubes right side out, press and topstitch.


Cut your velcro in half so that you have (2) 2.5″ strips. Sew a coordinating piece on each side of your strap pieces.
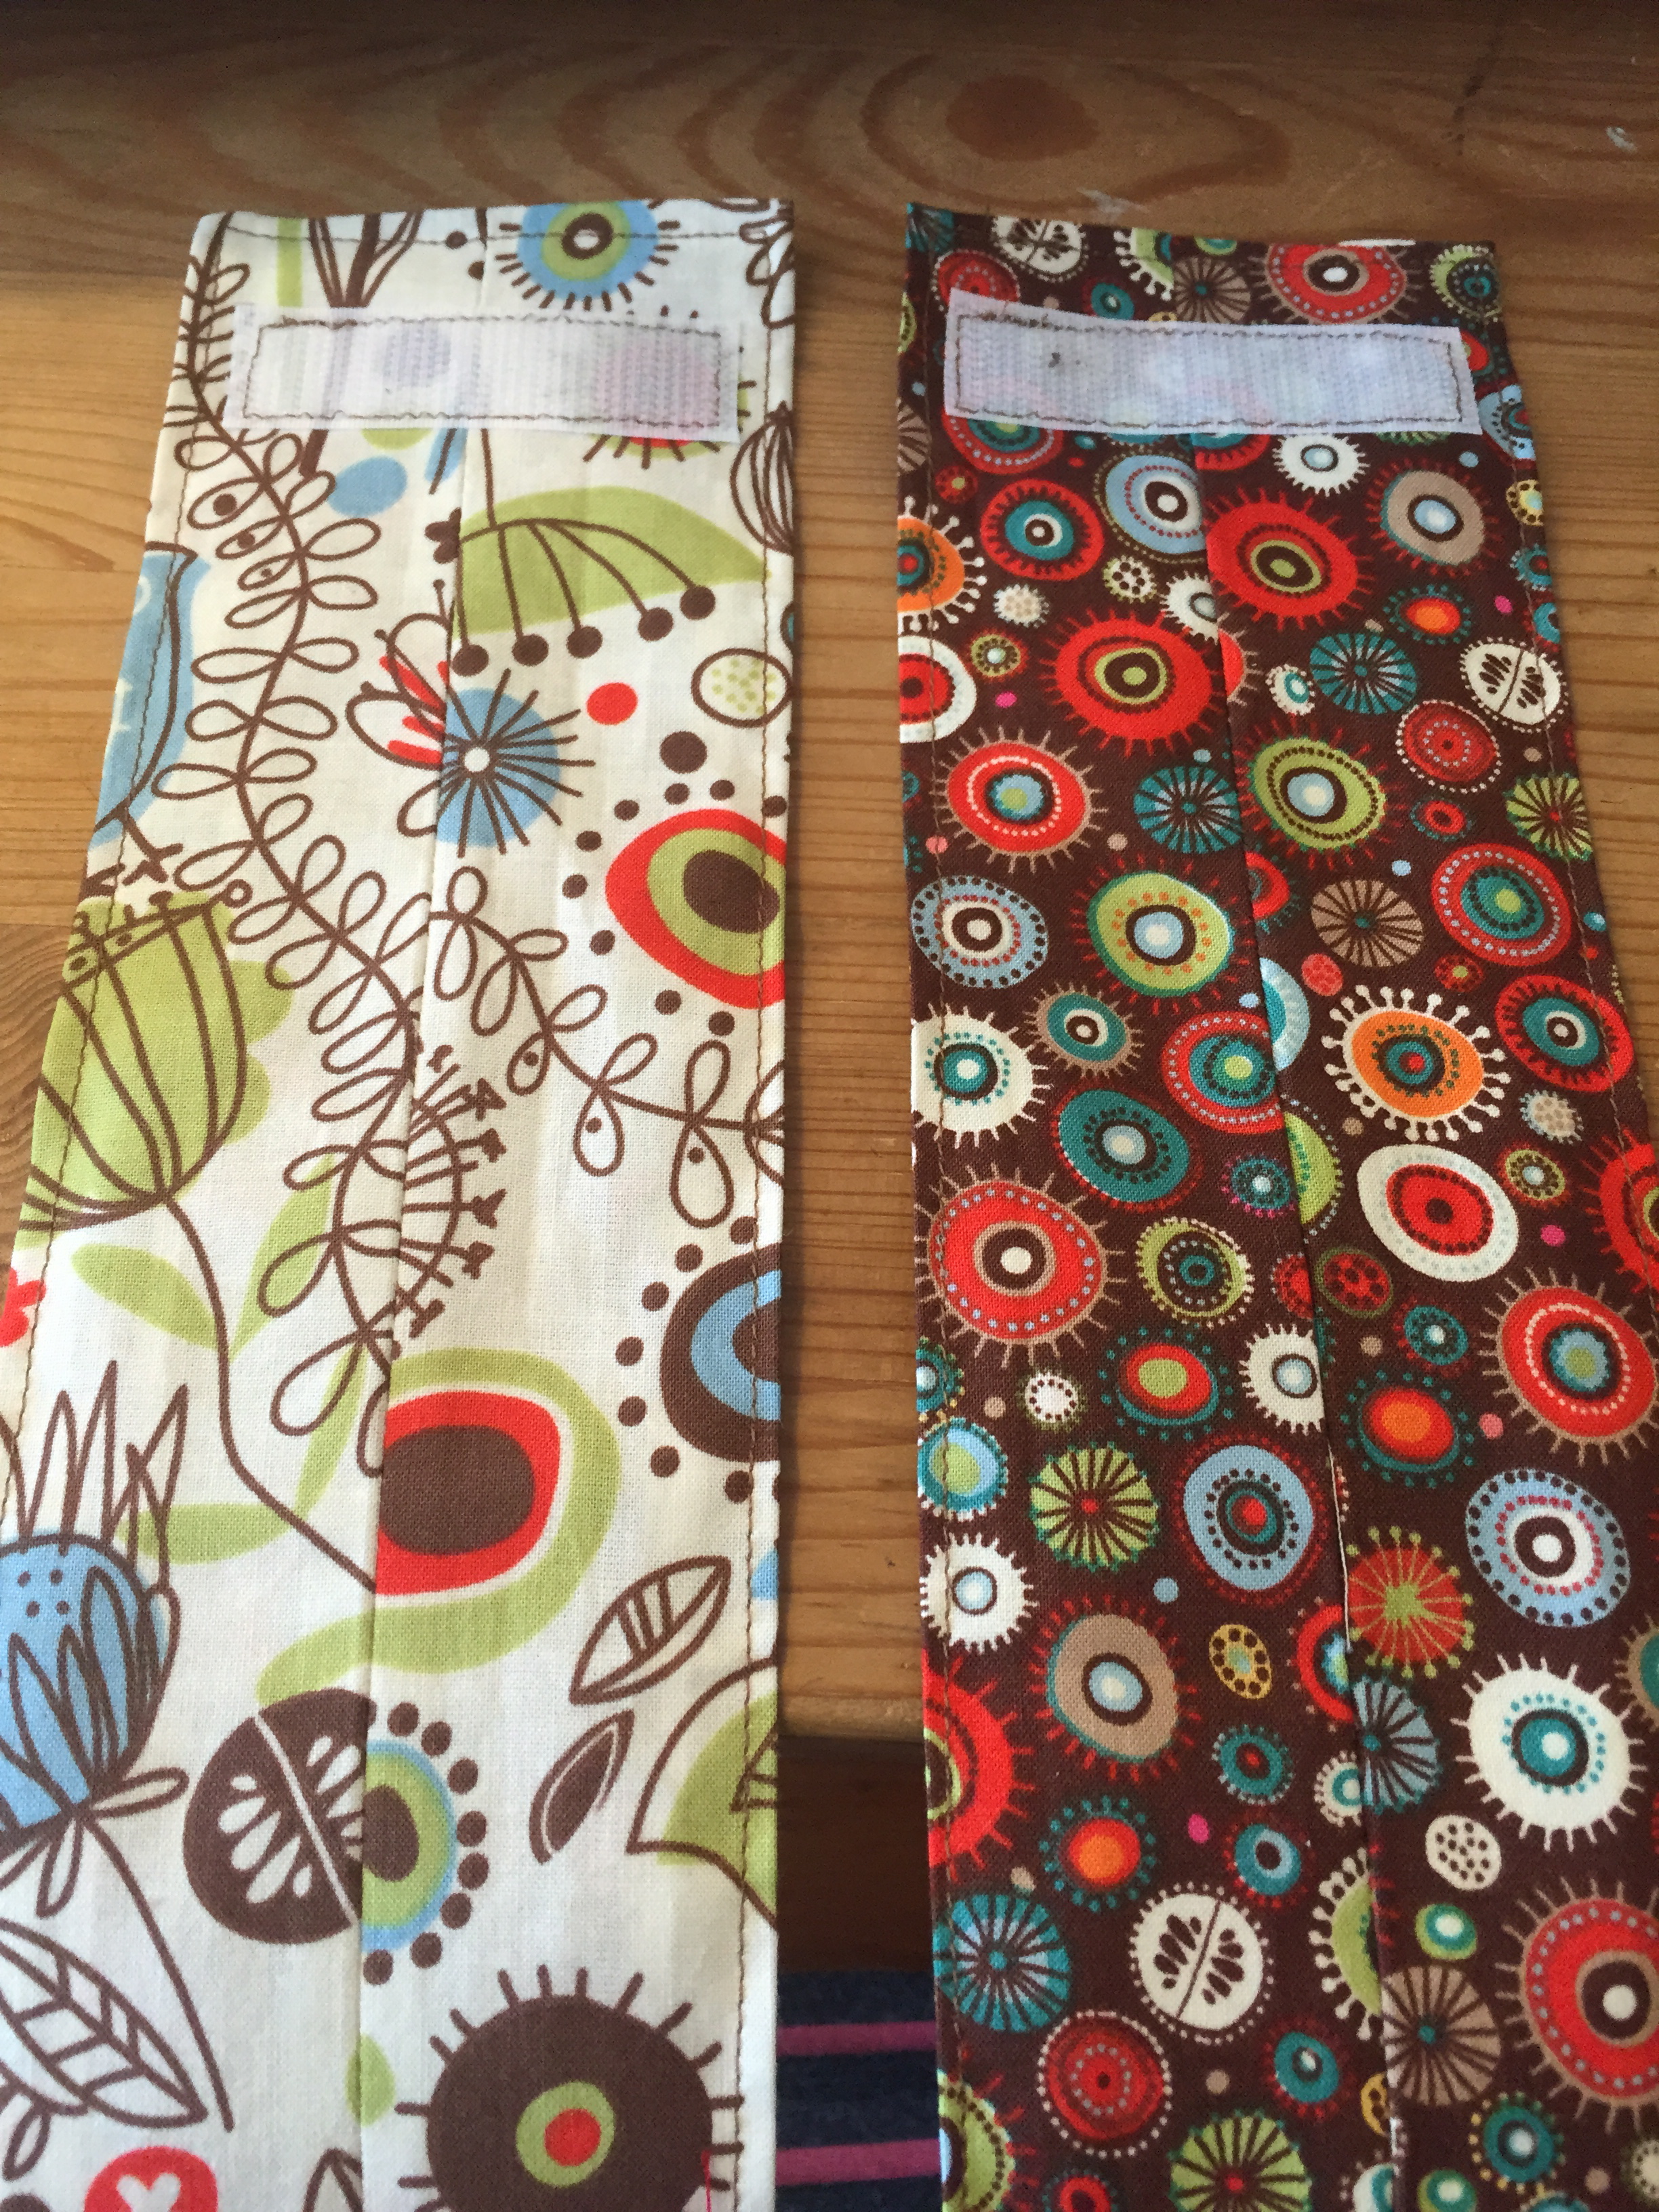

Measure your main fabric to where you will add your straps to. I measured 20 inches up and 10 inches in for mine. When sewing the straps on I measured 3 inches up from the bottom of the strap and then sewed a 2.5″ square with an “X” in the middle for a bit more stability. You can see it in the picture below on the right. These measurements leave about 10 inches in between the two straps as well which gives a bit more room in between the two straps so that you can slip your whole arm in your carrier instead of just being able to hold it with your hand.


I’d love to see any projects that come from this tutorial. Feel free to comment with pictures or post on instagram and hashtag #mkissacreations. Again, please let me know if you have any questions or if a step in the process seems unclear.


